
Time To Organize Your Old Photos!
I’ve had a few almost-clients delay starting their family history projects (right to the grave) because they were overwhelmed with the thought of trying to organize their old photos. For some of them, the photos were now in a box buried somewhere in the basement or attic. Worse, some had lost track of their old memorabilia and knew it was in a storage locker somewhere but weren’t quite sure where!
For those who did know where their old photos were, it was a matter of being able to sort through them and figure out which ones were useful and which weren’t.
Firstly, I want to say that when you hire a professional personal historian, dealing with your photo collection is their job! That’s why you hire a personal historian, so it doesn’t need to be overwhelming.
When I work with my clients and we’re starting to organize the photos for their project I have two goals:
- Find the photos that illustrate their stories and
- Put the old photos into a digital medium so the paper prints don’t matter so much any more
In fact, after we’re done, the old albums and paper prints could be destroyed and the family’s visual history would still be safe, presuming that duplicate copies of the digital photos photos are shared with all the grandchildren and the photos stored online
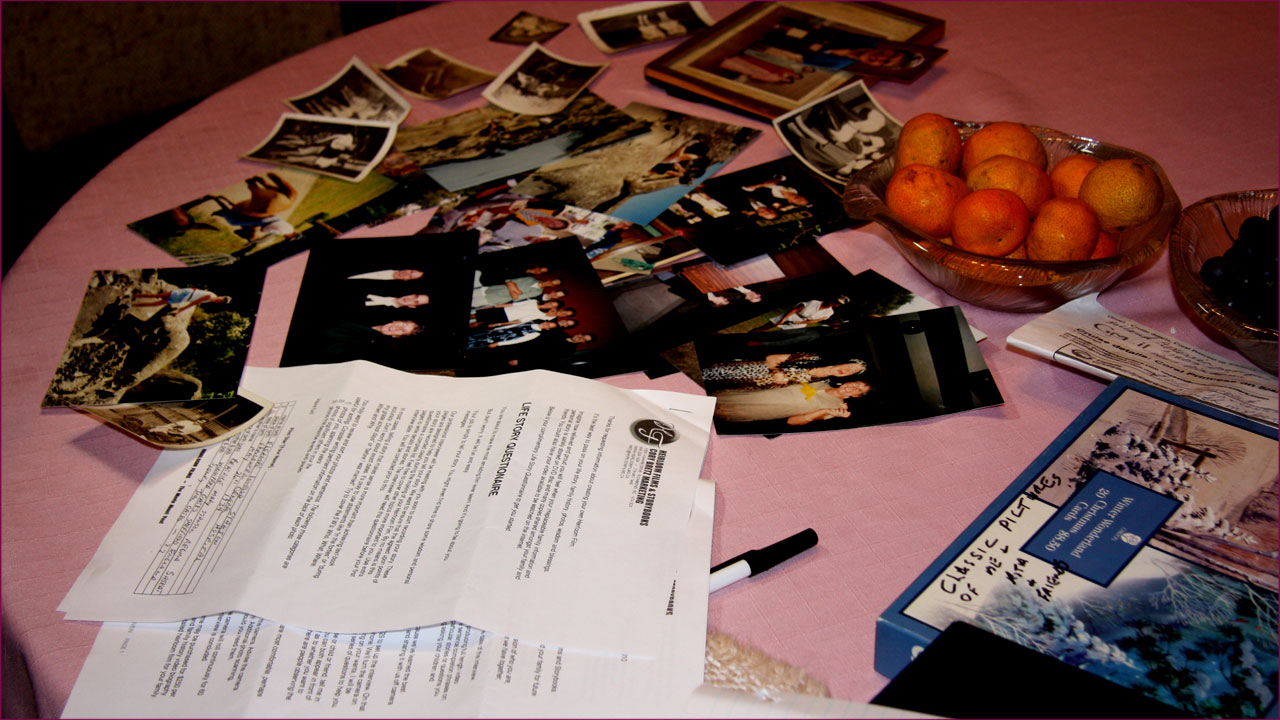
Here’s a typical photo capture session with one of my clients: I have my client find all the photo albums, boxes, and framed photos in the house. We put them all in one room. I warn them that yes, we are making a big mess…for a good reason.
We sort the photos into piles that illustrate the key characters in her family story. All the photos of their Mom go into one pile. All the photos of their Dad go into another pile. All the shots of Mom and Dad together go into yet another pile. Each person gets their own pile.
The photos of groups of people go into another pile. For life story videos, the best way to capture a group photo is to film over the shoulder of the client and have them use their finger to point out each person and verbally name them. There’s never any confusion about who is who.
If you are sorting in advance of the arrival of the personal historian, you can use file folders, large manila envelopes, or even boxes to hold the piles of photos.
Identification of the people, places, and dates is always the issue. For loose photos is absolutely fine to write on the back of the them as much info as you know. Good practice is to not write in the same area where there faces on the other side, in case there are indentations or bleedthrough of ink. I usually write along the edges on the back to minimize any impact. Some people think that it’s somehow disrespectful to write on the backs of pictures. My opinion is the opposite: It’s sad to pass on those photos without the necessary information to know who those people are. I actually inherited a whole box of photos from my grandmother, bless her heart, but she hadn’t written anything on the back of the majority of them and I have know idea who the people are in those photos!
If your photos are pasted into albums, don’t try to take them out. Instead, use stickies or post-it notes to denote info about each photo. Or you could use narrow envelope labels to write captions stick them right onto the pages….if they fit.
For most paper photos, the most efficient way to digitally capture them is to shoot them with a good quality camera like a DSLR. The trick is to properly light the photos from either side – not above and not with the flash of the camera. Some very tiny photos might need to be captured with a scanner. Sometimes I’ll shoot the photos with my 1080 HD video camera and create stills from that footage. The advantage of using video is that someone can voice over who is in the photos even use their finger to point out faces.
Working with old paper newspaper articles is similar but they are far more brittle and decayed usually. Great care has to be taken in handling old newsprint. But the process is similar to old photos: organize them in relation to the stories that will be told in your film. Put stickies on them with notes. Don’t cut up the newspapers or underline or write on them.
After we’re done digitally capturing the photos and other visuals they should be put into acid free paper envelopes and stored in an airtight plastic storage tub available at any department or hardware store.
Photo organizing will often take many sessions and can certainly be overwhelming if done alone.
Storage of digitized photos has changed rapidly over the past few years. Online storage is the best place for easy sharing with family and friends. Locations like Flikr, Dropbox, Google Drive, and others all provide great options for convenient uploading, easy viewing, and simple sharing. For physical storage, the most frequently used media now are USB Flash Drives, portable hard drives, and even DVD data discs, although many computer manufacturers have stopped putting DVD/CD reader/writers into their machines. Almost every storage medium will change over time due to advances in technology. Our job is to transfer what we have to the current standard and then trust that our descendants will choose to convert it in the future to the next greatest thing.
For many life story family history film projects we’ve now started to receive large amounts of digital content. Everything from Facebook photos to YouTube videos and content stored on smart phones, tablets, and laptops. All of that content is wonderful for inclusion in your film with a proviso: Some photos and videos can be digitally too small and won’t look good on a big TV screen. An example is a thumbnail image that some platforms make from the real image. We may need to do some web sleuthing to find the higher resolution original. Your personal historian will create a Shared Folder for you to copy those images into or an email address to send them to. With some computer operating systems you’ll need to make sure your email program isn’t sizing down the photo for quick delivery because the shrunken version may not look very good in a full HD video production.
If you’ve got digital content to share for your life story family history film or old paper prints, talk to your personal historian before you get started to find out the best way to handle them.
Most people love the process of reviewing all the imagery because it’s a trip down memory lane and can bring such rich emotion. Enjoy!